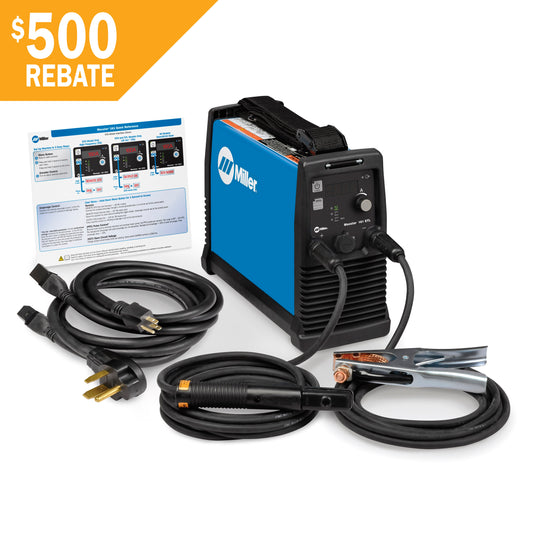
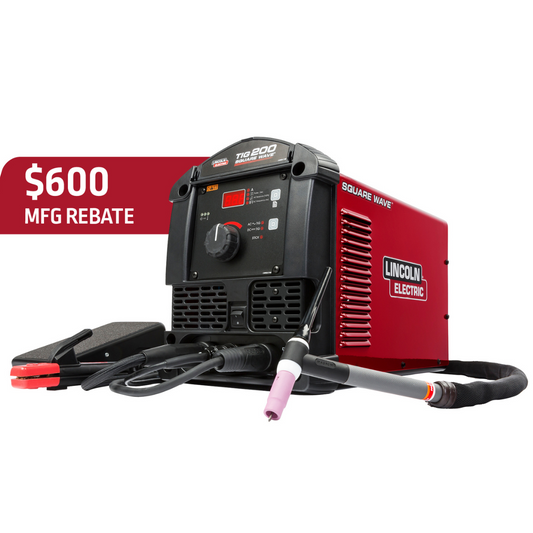
Welding is a precise craft that demands attention to detail, and one crucial aspect of achieving quality welds is determining the correct amperage for your stick welder. The right amperage ensures proper penetration, bead formation, and overall weld integrity. In this guide, we'll walk you through the steps to help you find the optimal amperage for your stick welding projects.
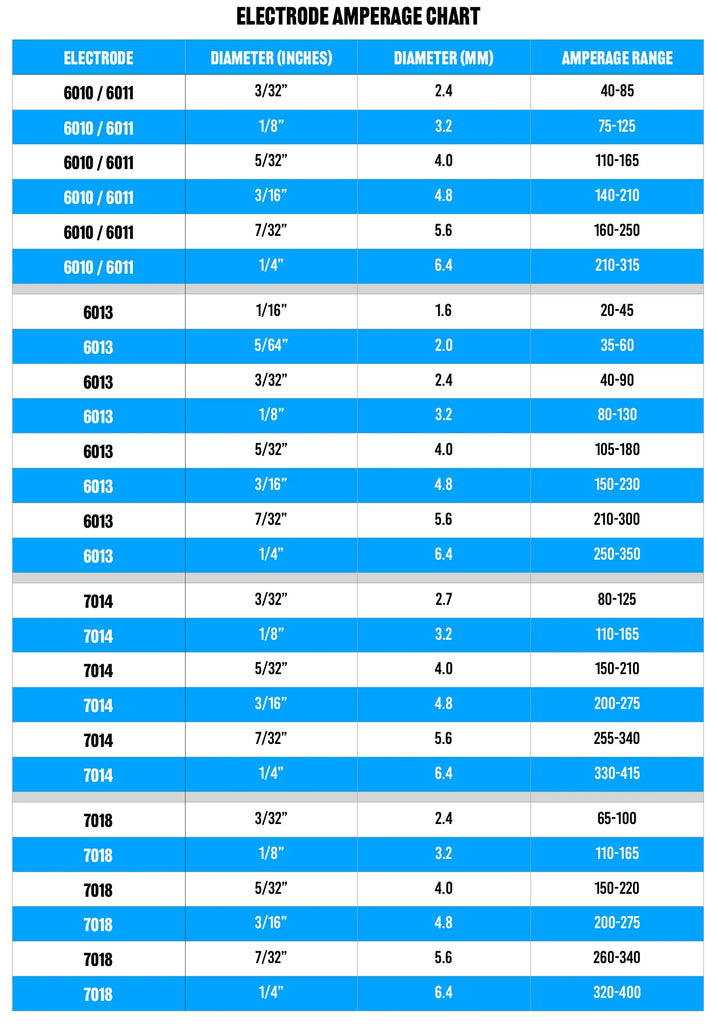
If you're looking for a quick reference guide for determining the correct amperage for different electrodes, you can see our chart here!
Printable electrode amperage chart
Understanding Stick Electrodes:
Before delving into amperage settings, it's essential to understand the characteristics of the stick electrodes you're using. Electrodes come in various sizes and types, each designed for specific applications. Refer to the manufacturer's recommendations for the electrode you have, as they often provide a suggested amperage range.
Factors Affecting Amperage:
-
Electrode Size: Larger electrodes generally require higher amperage, while smaller ones need less. Refer to the electrode packaging or manufacturer's guidelines for specific recommendations.
-
Material Thickness: Thicker materials usually demand higher amperage for proper penetration. Consider the thickness of the metal you're welding when setting the amperage.
-
Welding Position: Vertical and overhead welding may require higher amperage settings to compensate for the increased distance and gravity's effect on the molten metal.
-
Base Metal Type: Different metals have varying conductivity levels. Adjust your amperage based on the type of metal you're welding to achieve optimal results.
Finding the Right Amperage:
-
Initial Settings: Start with the recommended amperage range provided by the electrode manufacturer. This serves as a baseline for your initial settings.
-
Test Welds: Conduct test welds on scrap material using different amperage settings within the suggested range. Evaluate the weld bead appearance, penetration, and overall quality.
-
Adjustments: Fine-tune the amperage based on your test weld results. Aim for a balance between achieving proper penetration without causing excessive spatter or distortion.
-
Bead Appearance: A good indicator of correct amperage is the appearance of the weld bead. A smooth, consistent bead with good penetration suggests the right settings.
-
Travel Speed: Adjust your travel speed as needed to maintain a steady arc and achieve the desired weld appearance.
Determining the correct amperage for stick welding is a crucial skill that improves with experience. Regularly practice and refine your technique to achieve optimal results. Remember to refer to the electrode manufacturer's guidelines and make adjustments based on the specific requirements of your welding project.
For all your welding needs, whether it's equipment, consumables, or expert advice, Baker's Gas and Welding is here to assist you. Reach out to us via phone at 877-930-5690 or email us at support@bakersgas.com. Our team of welding experts is ready to help you succeed in your welding endeavors. Happy welding!
